

How to Actually Get Started with HuggingFace 🤗
A clear (and human) guide to get started without drowning

If you still think 🤗 is just a WhatsApp emoji, you’ve missed a lot.
AI isn’t stuck in research labs anymore, it’s in products, back-office flows, and tiny scripts that save hours each week.
Hugging Face is the community backbone behind much of that shift.
One of the leading agents of this revolution is Hugging Face, an open-source platform that has become essential for anyone working in Machine Learning (ML) and Natural Language Processing (NLP).
Whether you’re an experienced data scientist or just starting, Hugging Face offers a wide variety of tools and resources to help you bring your AI projects to life.
Trust me when I say, you’ll want to be a part of it!
Before we dive in, I strongly recommend checking out my previous issue on How to Get Started with LLMs (if you haven’t already). Trust me, it’s a great primer!

Hugging Face, or The GitHub of ML
Hugging Face is often described as the “GitHub of the ML world”, a collaborative platform with lots of pre-trained models and datasets (ready to be loaded and used!!).
But it actually further pushes this definition. Think of it as GitHub + model hosting + serving for AI: a massive Hub of models/datasets, the Transformers library (not just NLP anymore), easy Datasets, and simple ways to demo (Spaces) and serve (Inference Endpoints, TGI) models.
Why you should care
Speed: pre-trained models + one-line pipelines get you to a baseline in minutes.
Breadth: text, vision, audio, multimodal, diffusion—you name it.
Community: model cards, evals, PRs, and fast iteration on SOTA ideas.
So… where does this company come from?
From Chatbot to Open-Source Powerhouse
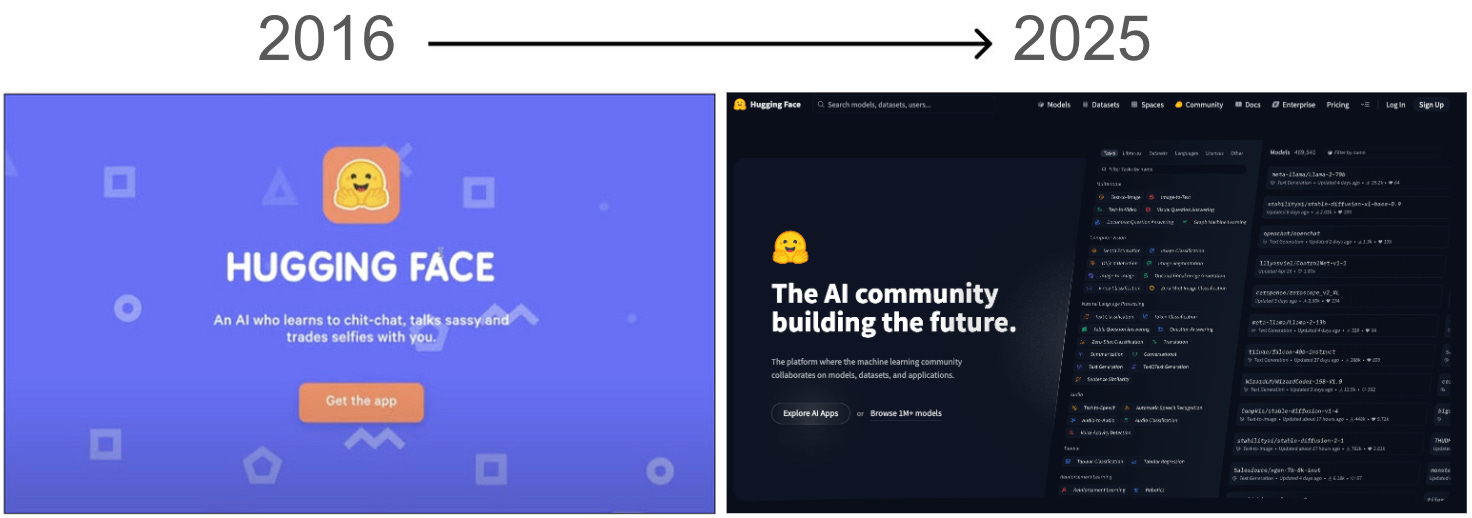
Founded in 2016, Hugging Face originally aimed to create a chatbot targeted at teenagers. However, the company quickly pivoted after open-sourcing its underlying model, leading to the creation of the Transformers library in 2018.
Today, Hugging Face is a central hub for AI professionals and enthusiasts, fostering a community that continually pushes the boundaries of what’s possible with machine learning.
Isn’t it crazy how things change up so fast?
Core pieces you’ll actually use
One of the biggest advantages of Hugging Face is how easy it is to get started.
#1. Transformers Library
The Transformers library is a comprehensive suite of state-of-the-art ML models specially designed for NLP that contains an extensive collection of pre-trained models optimized for tasks such as text classification, language generation, translation, and summarization, among others
It abstracts common NLP tasks into a simple-to-use pipeline() method, an easy-to-use API for performing a wide variety of tasks. The Transformers library simplifies the implementation of NLP models in several key ways:
Abstraction of complexity: It abstracts away the complexity involved in initializing models, managing pipelines, and handling tokenization.
Pre-trained models: Providing the biggest collection of pre-trained models, they reduce the time and resources required to develop NLP applications from scratch.
Flexibility and modularity: The library is designed with modularity in mind, allowing users to plug in different components as required.
Community and support: Hugging Face has fostered a strong community around its tools, with extensive documentation, tutorials, and forums.
Continuous updates and expansion: The library is constantly updated with the latest breakthroughs in NLP, incorporating new models and methodologies.
#2. Model Hub
The Model Hub stands as the community’s face, a platform where thousands of models and datasets are at your fingertips. It is an innovative feature that allows users to share and discover models contributed by the community, promoting a collaborative approach to NLP development.
You can go check it out on their official website. There you can easily select the Model Hub by clicking on the Models button in the navigator, and a view like the following should appear to you:

As you can see, in the left-sidebar, there are multiple filters regarding the main task to be performed.
Contributing to the Model Hub is made straightforward by Hugging Face’s tools, which guide users through the process of uploading their models. Once contributed, these models are available for the entire community to use, either directly through the hub or via integration with the Hugging Face Transformers library.
Isn’t it exciting?
This ease of access and contribution fosters a dynamic ecosystem where state-of-the-art models are constantly refined and expanded upon, providing a rich, collaborative foundation for NLP advancement.
#3. Tokenizers
Tokenizers are crucial in NLP, as they are responsible for converting text into a format that machine learning models can understand, which is essential for processing different languages and text structures.
They are responsible for breaking down text into tokens—basic units like words, subwords, or characters—thus preparing data for machine learning models to process. These tokens are the building blocks that enable models to understand and generate human language.
They also facilitate the transformation of tokens into vector representations for model input and handle padding and truncation for uniform sequence lengths.
Hugging Face provides a range of user-friendly tokenizers, optimized for their Transformers library, which are key to the seamless preprocessing of text.
#4. Datasets Library
Another key component is the Hugging Face Datasets library, a vast repository of NLP datasets that support the training and benchmarking of ML models.
This library is a crucial tool for developers in the field, as it offers a diverse collection of datasets that can be used to train, test, and benchmark any NLP models across a wide variety of tasks.
One of the main benefits it presents is the simple and user-friendly interface. While you can browse and explore all datasets in the Hugging Face Hub, to use it in your code, they have tailored the dataset library that allows you to download any dataset effortlessly.

It includes datasets for common tasks such as text classification, translation, and question-answering, as well as more specialized datasets for unique challenges in the field.
So now that we know what it is, let’s get our hands dirty 💥
Getting Started with Hugging Face
Before you can start exploring Hugging Face, you’ll need to install it on your local machine.
Installation
First, you should combine the transformers library with your favorite deep learning library, either TensorFlow or PyTorch.
The transformers library can be easily installed using pip, Python’s package installer.
pip install transformersTo have the full capability, you should also install the datasets and the tokenizers library.
pip install tokenizers, datasetsHugging Face’s model hub offers a huge collection of pre-trained models that you can use for a wide range of NLP tasks. There are a bunch of things we can do with LLMs.
The first task we can do is directly using a Pre-trained Model.
1. Using Pre-trained Models
#1 Select a Pre-trained Model
First, you need to select a pre-trained model. To do so, we go to the Model Hub.
Imagine we want to infer the sentiment corresponding to a string of text. So we can easily browse only the models that perform `Text Classification` tasks by selecting the Text Classification button on the left-sidebar.
Hugging Face models always appeared ordered by Trending. Usually, the higher results are the most used ones.
So, we select the second result, which is the most used sentiment analysis model.

To use it, we need to copy the corresponding name of the model. It can be found within the top section of its specific view.
#2 Load a pre-trained model
Now that we already know what model to use, let’s use it in Python. First we need to import the AutoTokenizer and the AutoModelForSequenceClassification classes from transformers.
Using these AutoModel classes will automatically infer the model architecture from the model name.
from transformers import AutoTokenizer, AutoModelForSequenceClassification

model_name = “lxyuan/distilbert-base-multilingual-cased-sentiments-student”

# We call define a model object
model = AutoModelForSequenceClassification.from_pretrained(model_name)
#3 Prepare your input
Load a tokenizer for our model, in this case, the transformers library facilitates the process as it inferes the tokenizer to be used from the name of the model that we have chosen.
#We call the tokenizer class
tokenizer = AutoTokenizer.from_pretrained(model_name)
#4 Run the model
Generate a pipeline object with the chosen model, the tokenizer, and the task to be performed. In our case, a sentiment analysis. If you initialize the classifier object with the task, the pipeline class will populate it with the default values, even though it is not recommended in production.
# Initializing a classifier with a model and a tokenizer
classifier = pipeline(”sentiment-analysis”, model = model, tokenizer = tokenizer)
# When passing only the task, the pipeline command inferes both the model and tokenizer.
classifier = pipeline(”sentiment-analysis”)
We can execute this model by introducing some input.
output = classifier(”I’ve been waiting for this tutorial all my life!”)And we will obtain the results right away!
Which leads to the following (and final) step…
#5 Interpret the outputs
The model will return an object containing various elements depending on the model’s class. For example, for this sentiment analysis example, we will get:

In this instance, the input string has been classified with the “Positive” label (using a sentiment analysis model), achieving a confidence score of 0.579. This score reflects the model’s certainty in its classification.
A second task we can do using HF is fine-tuning a model.
2. Fine-tuning models
Fine-tuning is the process of taking a pre-trained model and updating its parameters by training on a dataset specific to your task. This allows you to leverage the model’s learned representations and adapt them to your use case.
Imagine we need to use a text-classifier model to infer sentiments from a list of tweets. One natural question that comes to mind is:
Will this pre-trained model work properly?
To make sure it does, we can take advantage of fine-tuning by training a pre-trained Hugging Face model with a dataset containing tweets and their corresponding sentiments so the performance improves.
Here’s a basic example of fine-tuning a model for sequence classification:
#1. Choose a pre-trained model and a dataset
Select a model architecture suitable for your task. In this case, we want to keep using the same sentiment analysis model.
However, now we need some data to train our model. And this is precisely where the datasets library kicks in. We can go check all datasets in the Model Hub, and find the one that fits us the best.
In my case, I’ll be using the twitter-sentiment-analysis dataset.

Now that I already know what dataset to choose, we can simply initialize both the model and dataset.
model = AutoModelForSequenceClassification.from_pretrained(model_name)

# Loading the dataset to train our model
dataset = load_dataset(”mteb/tweet_sentiment_extraction”)
If we check the dataset we just downloaded, it is a dictionary containing a subset for training and a subset for testing. If we convert the training subset to a dataframe, it looks like follows:

#2. Prepare Your dataset
Now that we already have our dataset, we need a tokenizer to prepare it to be parsed by our model. The text variable of our dataset needs to be tokenized so we can use it to fine-tune our model.
This is why the second step is to load a pre-trained Tokenizer and tokenize our dataset so it can be used for the fine-tuning.
tokenizer = AutoTokenizer.from_pretrained(model_name)

def tokenize_function(examples):
    return tokenizer(examples[”text”], padding=”max_length”, truncation=True)

tokenized_datasets = dataset.map(tokenize_function, batched=True)
#3. Build a PyTorch dataset with encodings
The third step is to generate a train and testing dataset. The training set will be used to fine-tune our model, while the testing set will be used to evaluate it.
Usually, the fine-tuning process takes a lot of time.
(To facilitate the tutorial, we randomly sample both datasets so your computation time is lower)
from datasets import load_dataset

model = AutoModelForSequenceClassification.from_pretrained(model_name)

# Loading the dataset to train our model
dataset = load_dataset(”mteb/tweet_sentiment_extraction”)

small_train_dataset = tokenized_datasets[”train”].shuffle(seed=42).select(range(1000))
small_eval_dataset = tokenized_datasets[”test”].shuffle(seed=42).select(range(1000))
#4. Fine-tune the model
Our final step is to set up the training arguments and start the training process. The transformers library contains the trainer() class, which takes care of everything.
We first define the training arguments together with the evaluation strategy. Once everything is defined, we can easily train the model with the train() command.
from transformers import Trainer, TrainingArguments
import numpy as np

training_args = TrainingArguments(output_dir=”trainer_output”, evaluation_strategy=”epoch”)

metric = evaluate.load(”accuracy”)

def compute_metrics(eval_pred):
    logits, labels = eval_pred
    predictions = np.argmax(logits, axis=-1)
    return metric.compute(predictions=predictions, references=labels)


trainer = Trainer(
    model=model,
    args=training_args,
    train_dataset=small_train_dataset,
    eval_dataset=small_eval_dataset,
    compute_metrics=compute_metrics,
)
trainer.train()
#5. Evaluate the model
After training, evaluate the model’s performance on a validation or test set. Again, the trainer class already contains an evaluate method that takes care of this.
import evaluate

trainer.evaluate()
Our fine-tuned model presents an accuracy of 70%.
Now that we have already improved our model, how can we share it with the community?
This brings us to our final step…
#6. Sharing Models
Once we’ve fine-tuned our new model, the best idea is to share it with the community.
Hugging Face makes this process straightforward. First, we need to install the huggingface_hub library.
A requirement for this final step is to have an active token to be able to connect to your Hugging Face account. You can easily get one following this guideline. When working in a Jupyter Notebook, we can easily import the notebook_login library.
from huggingface_hub import notebook_login

notebook_login()
This will generate a login within our Jupyter Notebook. We just need to submit our token, and our notebook will be connected to our hugging face account.

After this, the model will be available for everyone in our Hugging Face profile.
4 use-cases you can start doing today
If we want to standardize any NLP process, Hugging Face makes it incredibly simple, allowing us to build any pipeline in just three steps: